New World Sourdough is a 2020 cookbook by Bryan Ford. I will not be reproducing Ford’s recipes in my blog. Read his blog, buy his book, support his work.
Bang Bang
I want to say that this week’s baking started with a bang, but that would be untrue. There was a bang—my oven light exploded—but it was not at the start.
Forty-one hours after mixing a poolish, 29 hours after kneading dough until smooth, one and one half hours after preshaping the bulked dough, one hour after shaping baguettes, 45 minutes after preheating the oven to its highest temperature, moments after scoring the loaves in overlapping, slanted strokes, and simultaneously with misting the oven with water, my week proceeded with a bang.
With glass shards surely embedded in the dough, I closed the oven door, turned off the heat, and walked away.
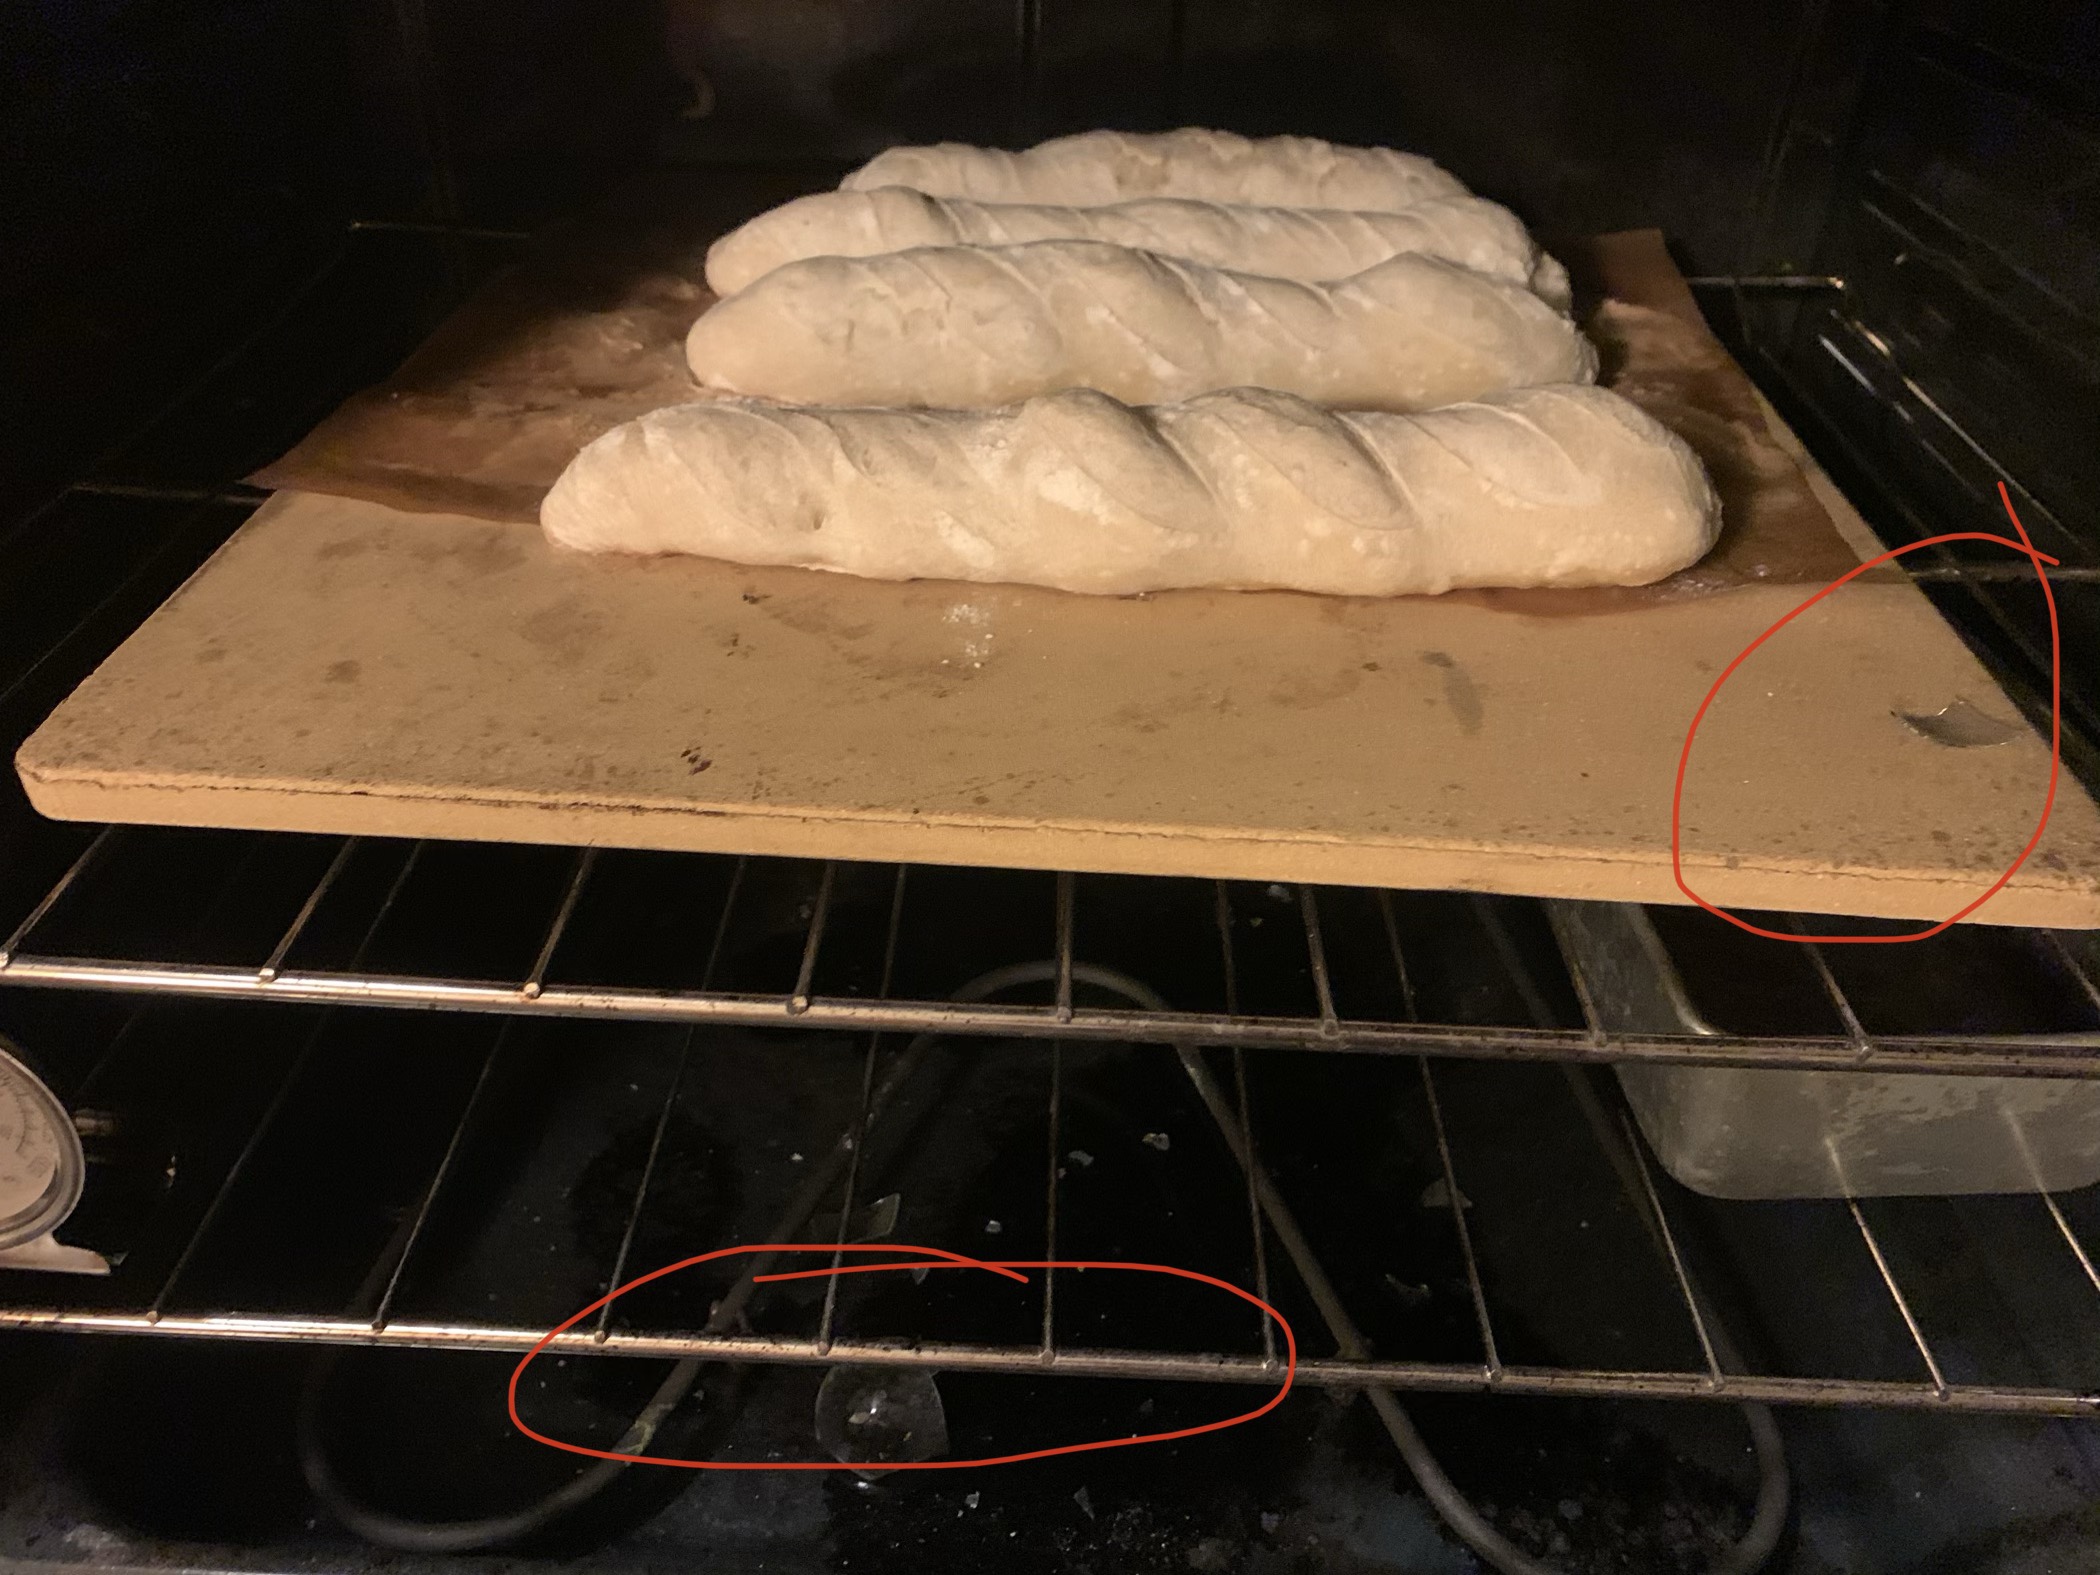
The foiled baguettes baked quite a bit from the residual heat. Regardless, glints of glass reflecting from the crust kept me from attempting any taste test.

How to Deal with a Broken Oven Lightbulb
I googled “how to clean broken glass” and found this helpful tidbit:

With no glass-less bread in the house, I used a pastry brush to sweep the bits into a general area and vacuumed up as much as I could. Removing what was left of the lightbulb was more challenging.
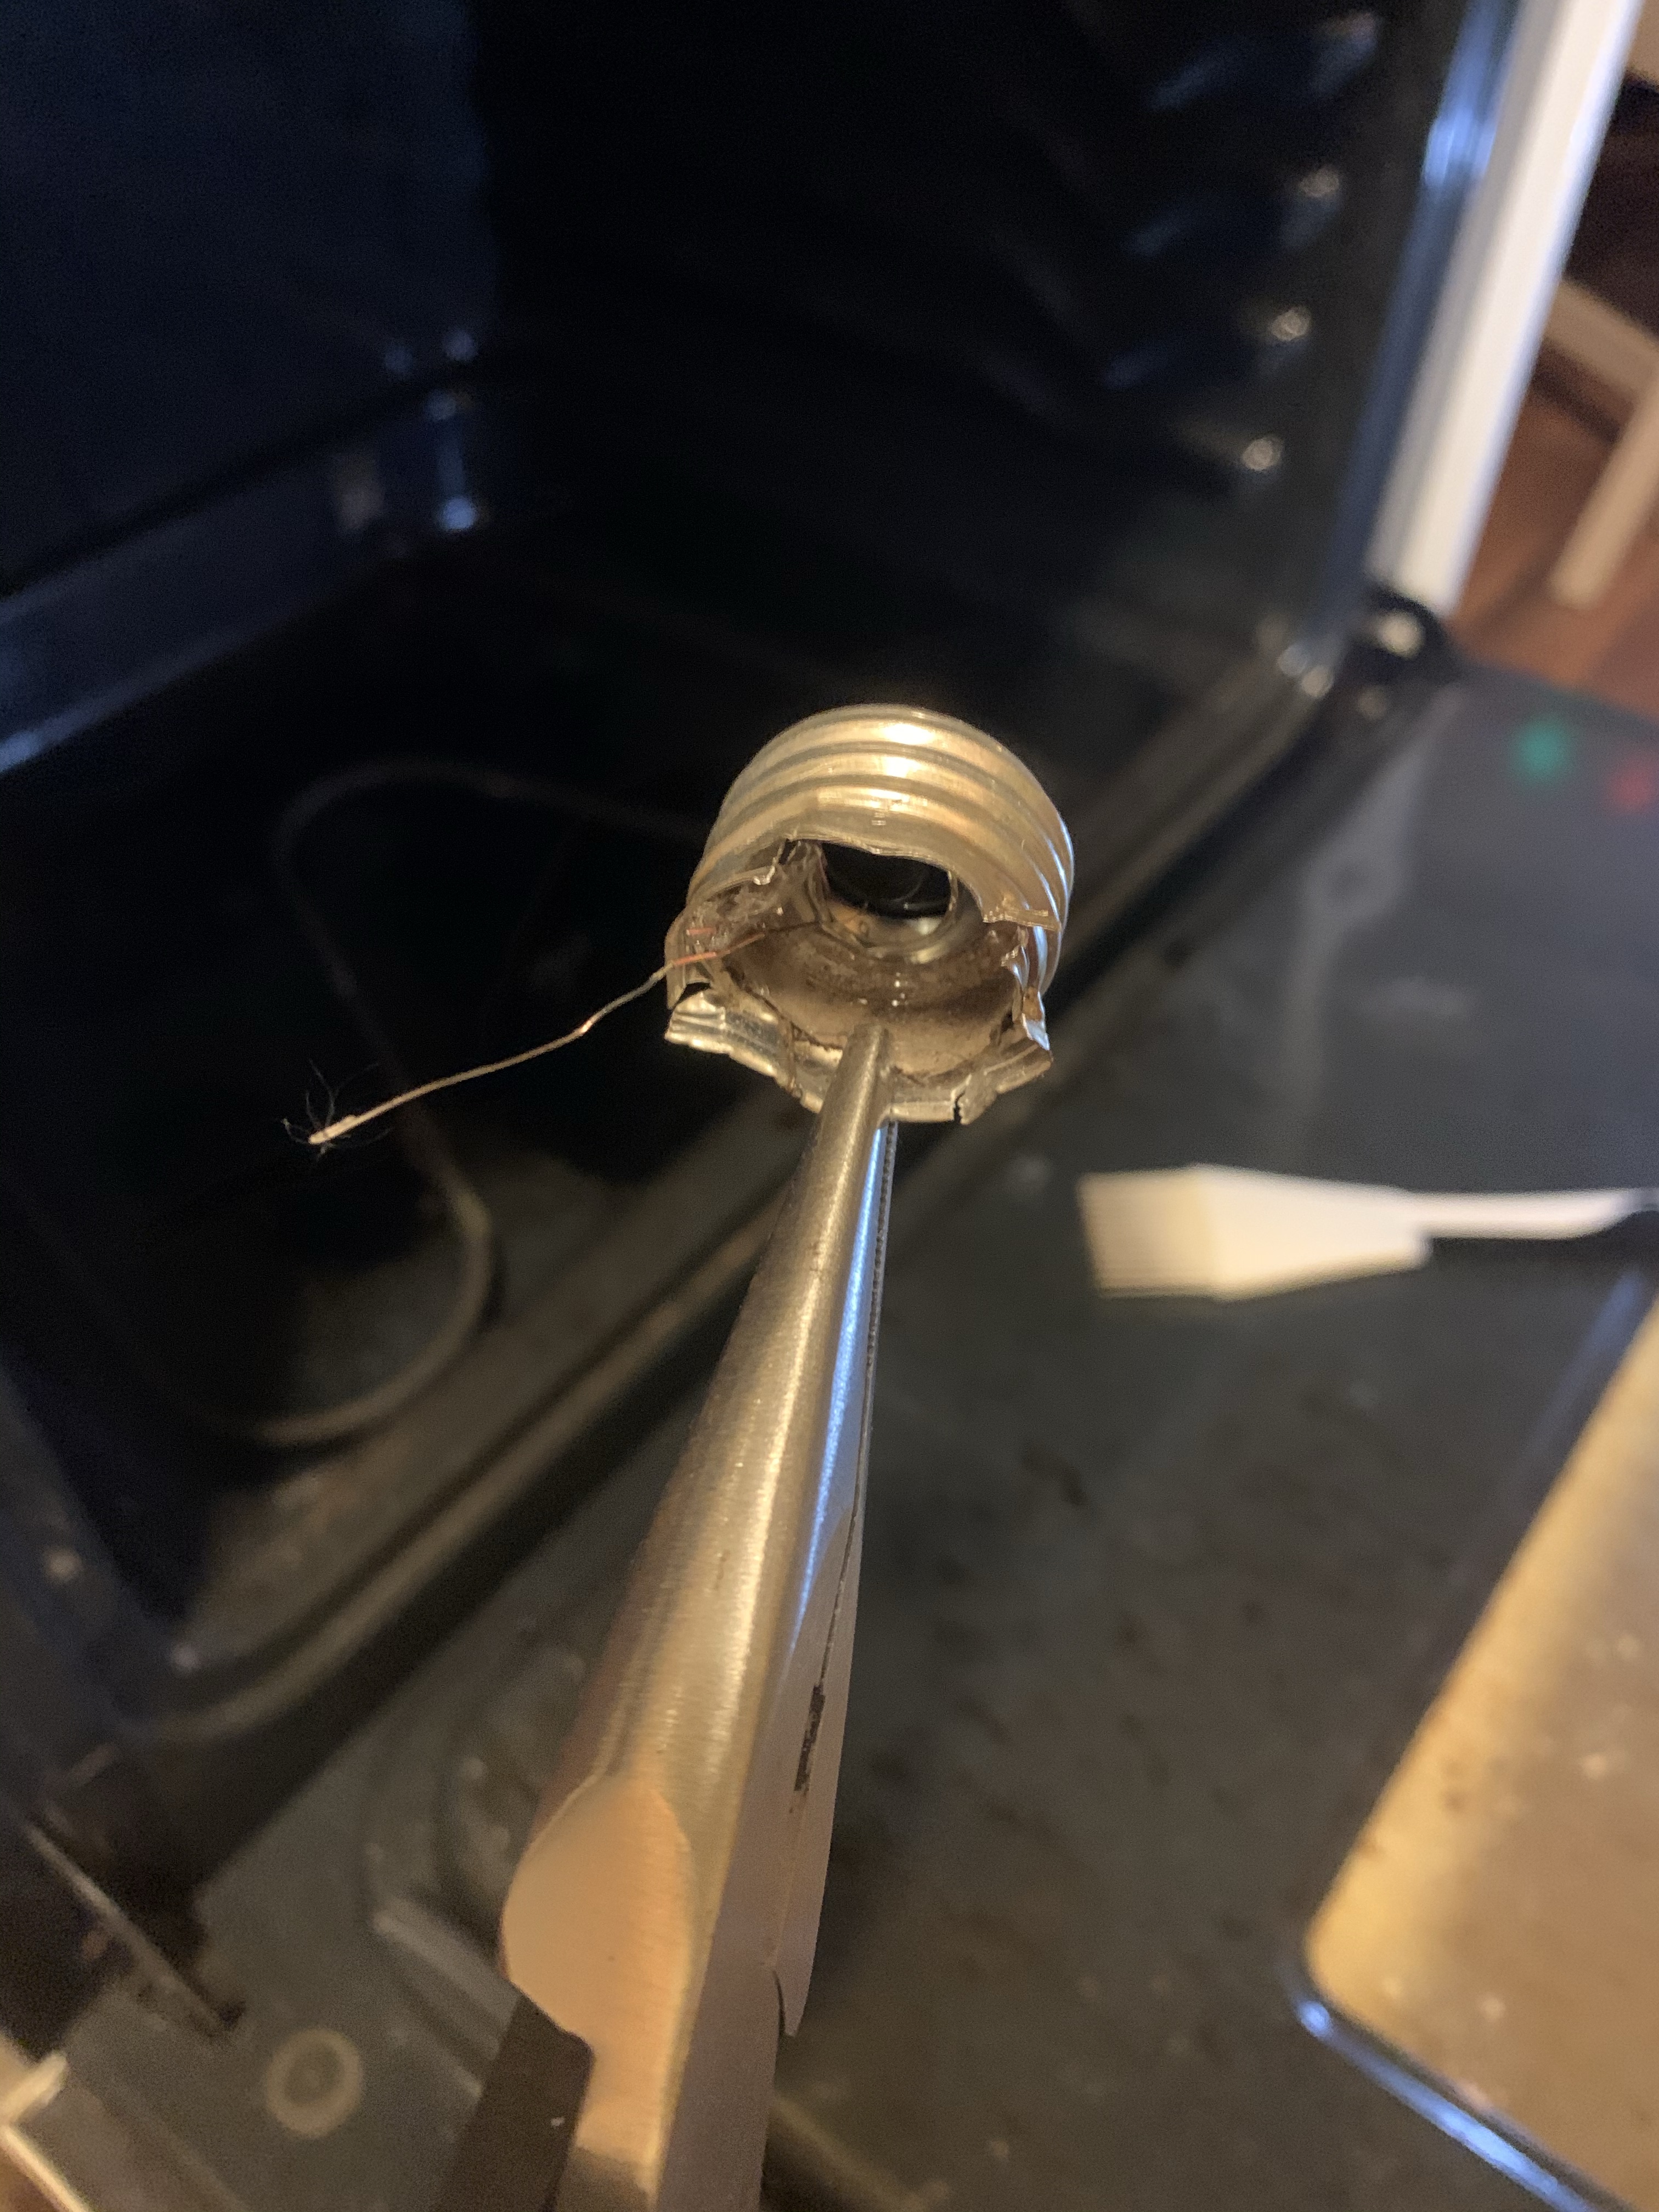
My dad recommended using another lightbulb. The idea is you twist the good bulb into the hollow of the broken bulb and then twist them both out together. As I attempted this procedure, my thoughts turned to the future: What if this bulb shatters? How badly will my hand be cut? Will I be able to drive myself to the hospital? Does my insurance cover ambulance rides? Do Lyft drivers accept rides when the destination is “emergency room?”
With these rosy visions in my head, I put down the light bulb and picked up a pair of pliers. After cracking more glass and bending a lot of metal, I spun the broken socket free and closed the oven door on that saga.
Mallorcas
An oven light is not necessary to use the oven qua oven, but I depend on the small amount of heat they generate to create a “room temperature” space for feeding my starter and rising dough. A few months ago I may have been able to depend on the actual ambient temperature of my apartment, but this week’s 63° kitchen would not do.
At first I placed Bradley on the floor by the vent in a small room and closed the door. I was not happy with this option, both because it was not effective and because it is unnerving to have a jar of starter loose in the house.
To make more efficient use of space, I microwaved a small bowl of water for a couple minutes. Then I quickly opened the microwave door, placed Bradley inside, and closed the door. This proved an effective solution.

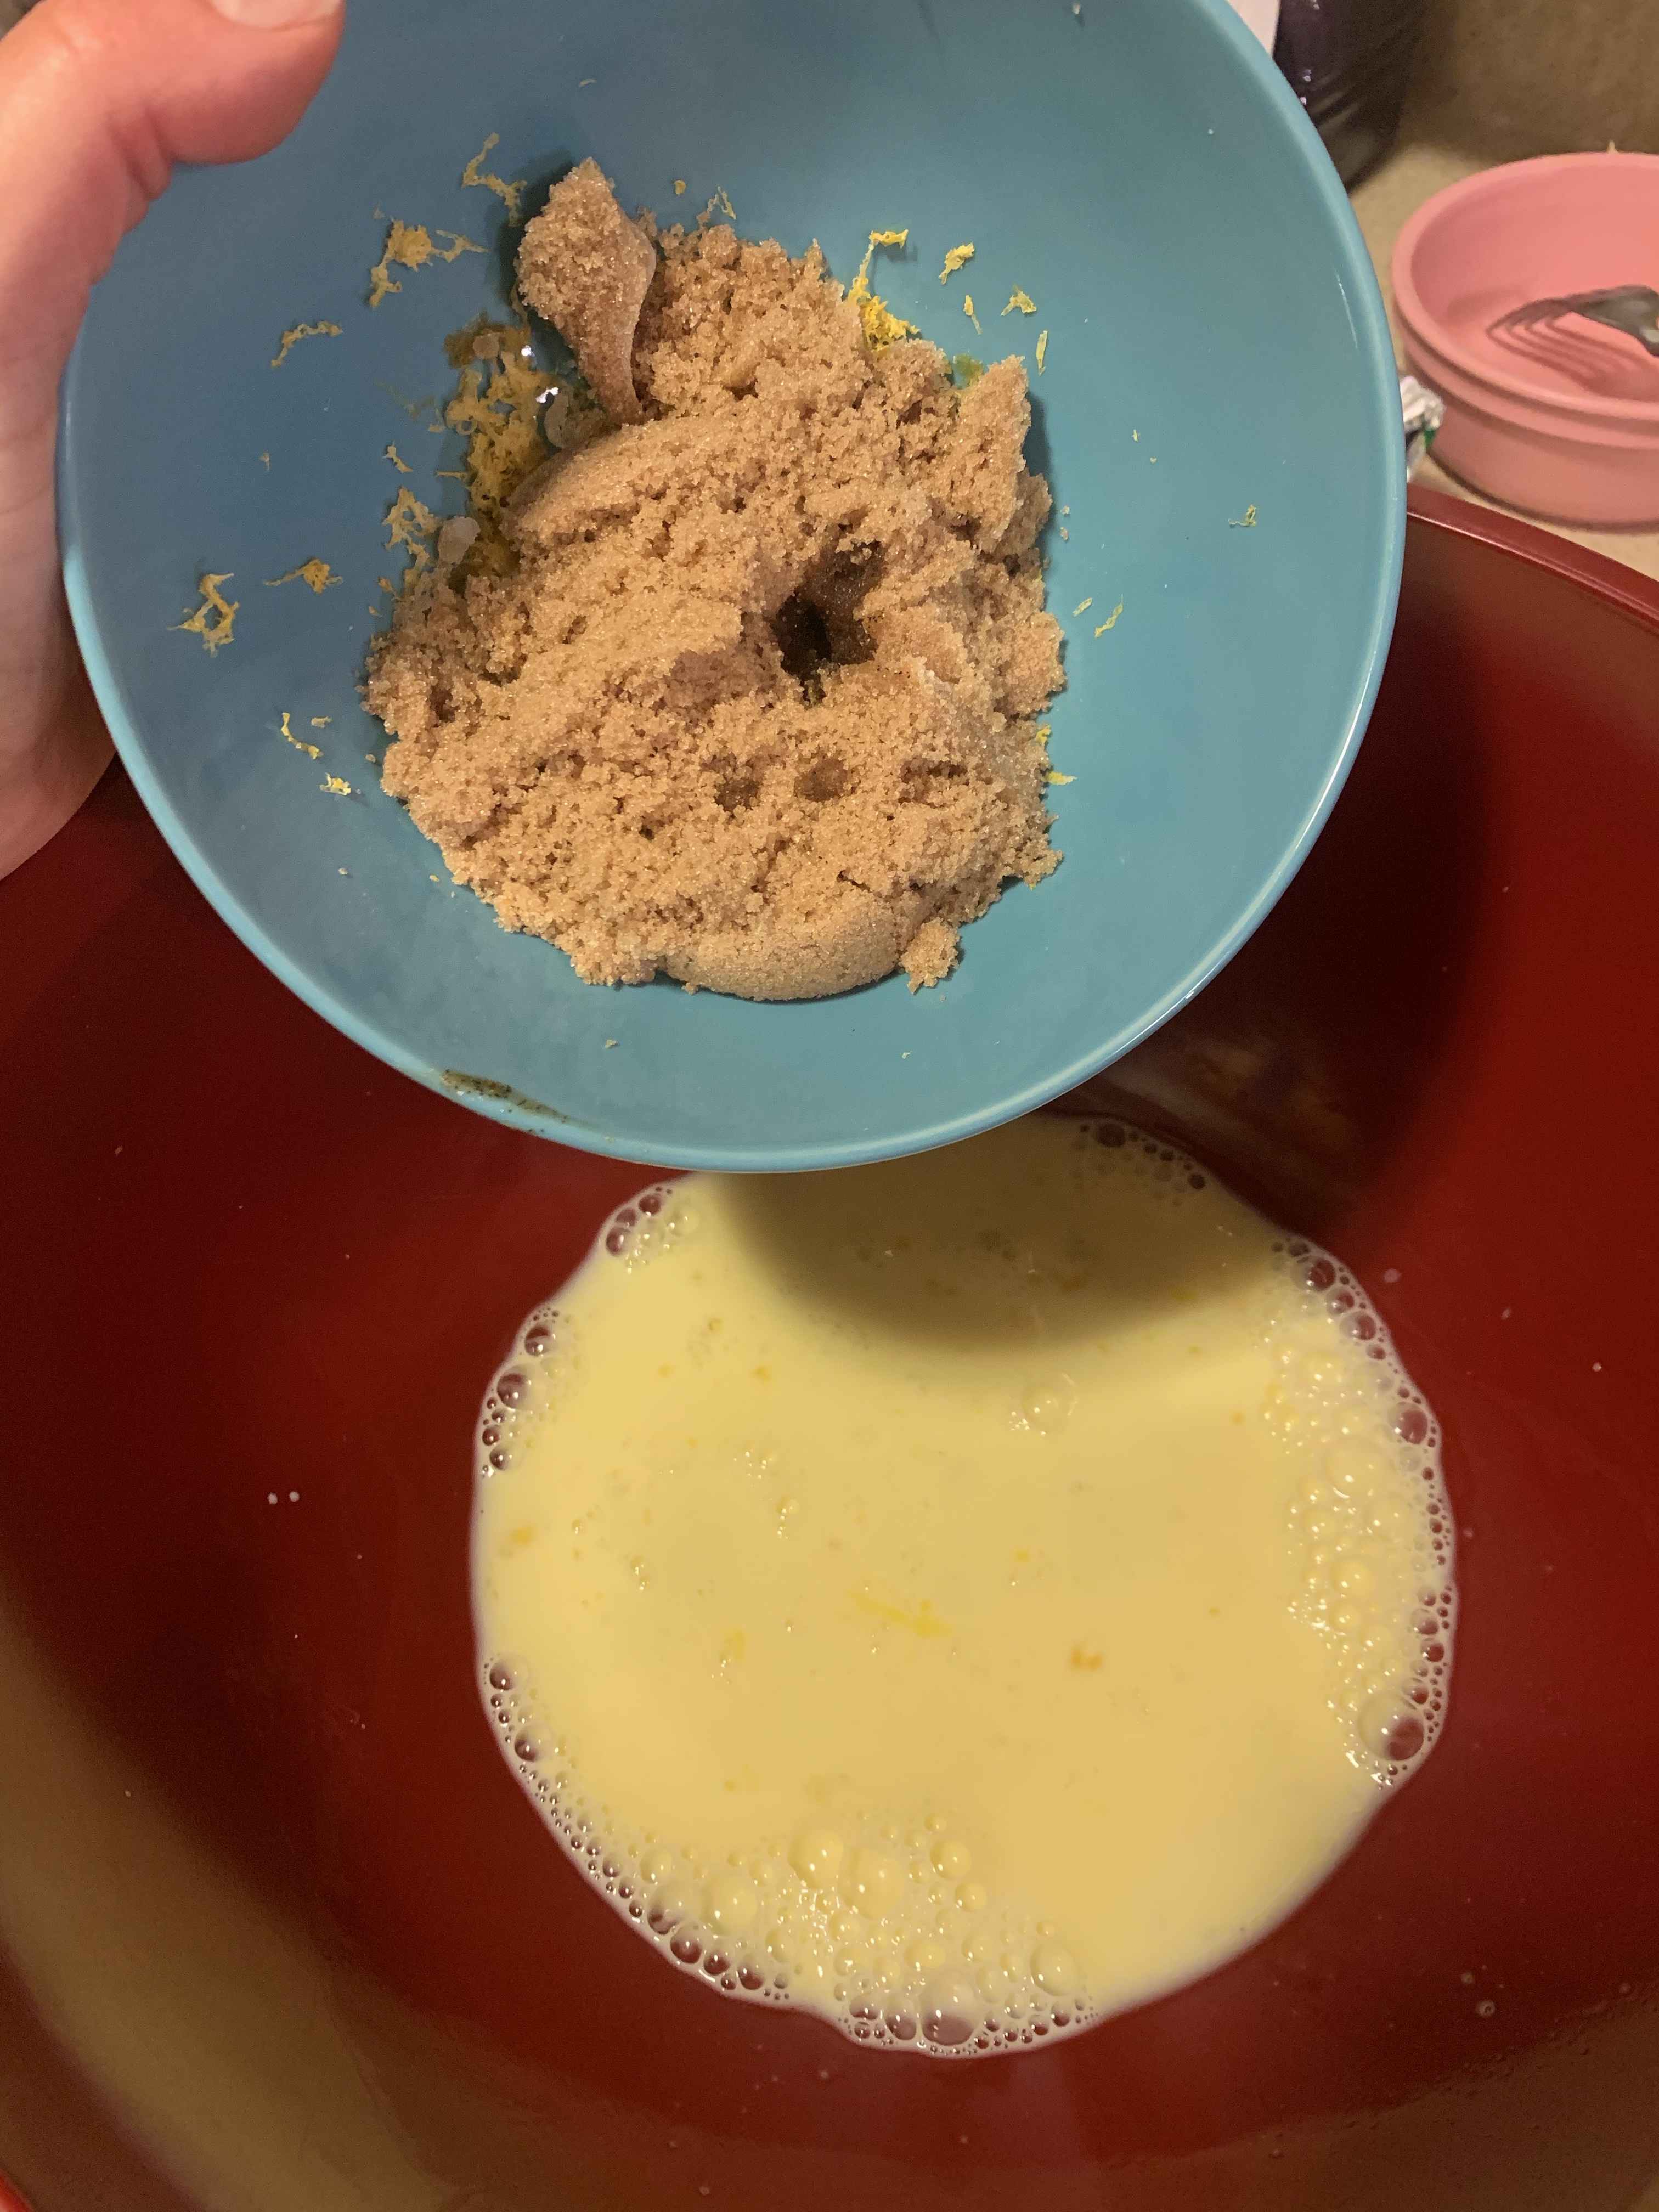
Gathering the ingredients for this mallorca recipe was simply pleasant. The recipe calls for 5g of lemon zest, which amounted to one lemon’s worth.

Additionally, 100g of egg equaled two large eggs. I used vanilla bean paste instead of extract, and Kerrygold butter when called for later.
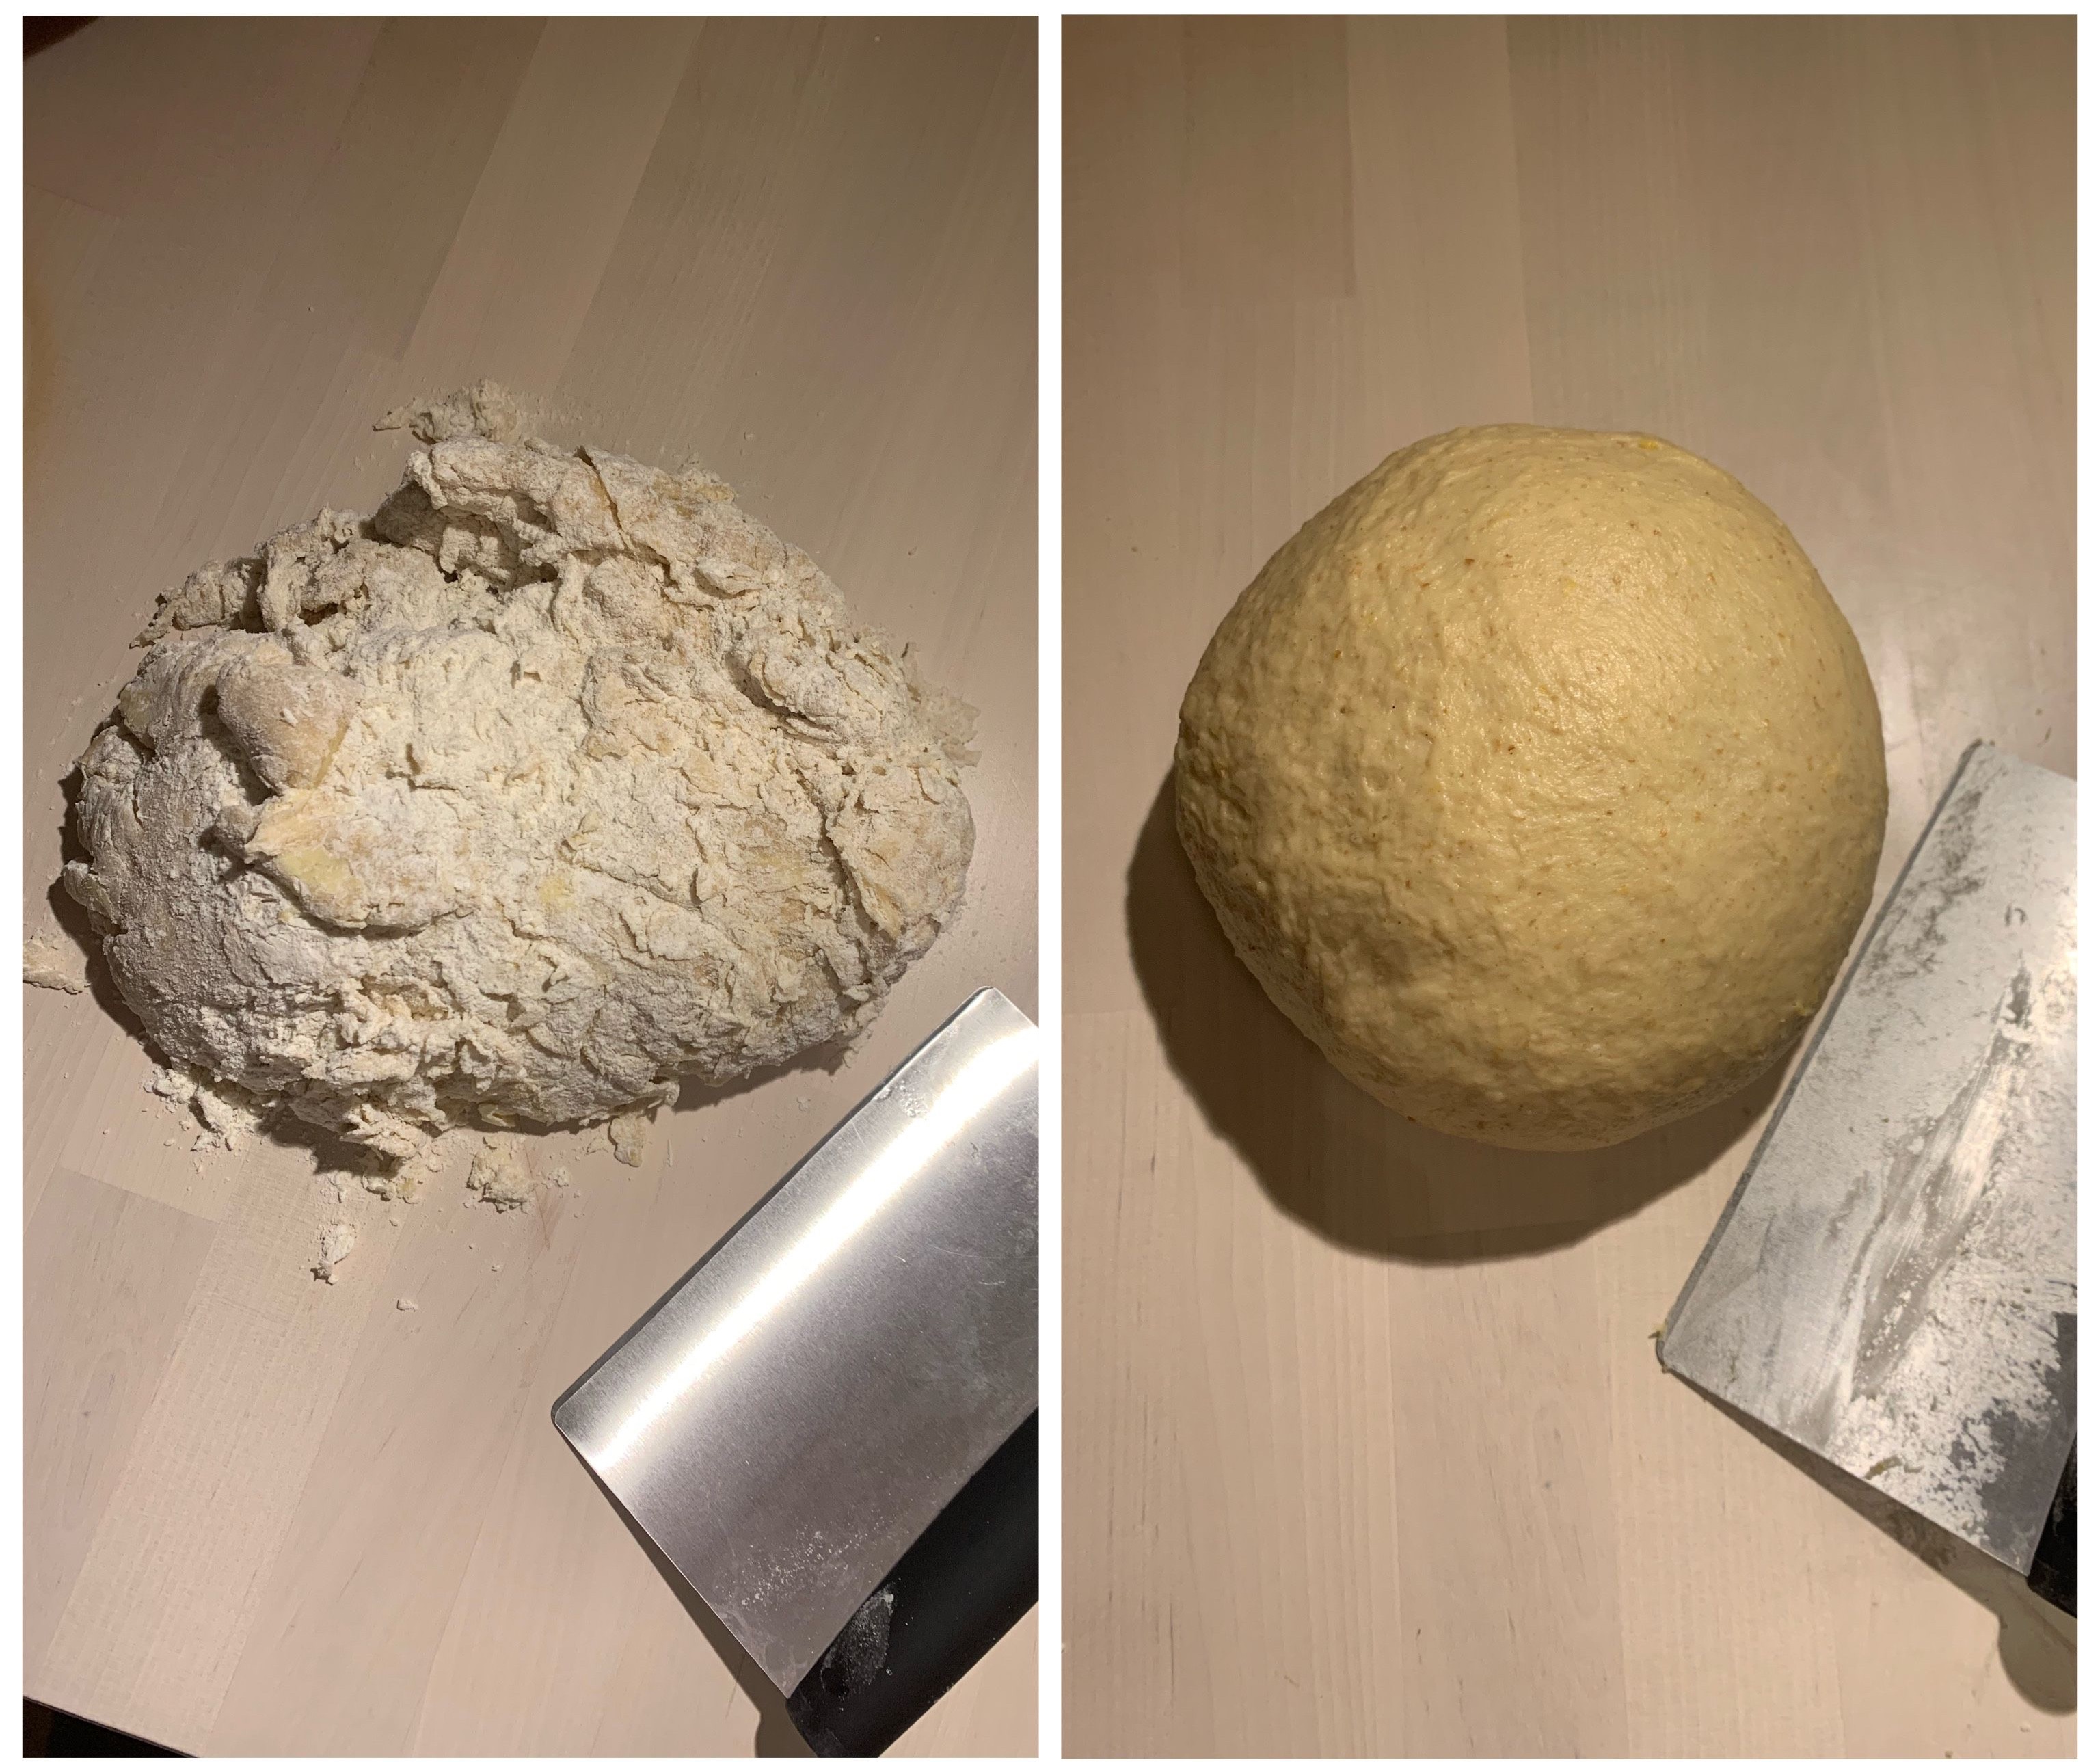
Kneading has always been a struggle for me, simply because I don’t know if I’m doing it long enough. I think my natural tendency is to underknead, so this time I set a timer for five minutes. I went a minute or so over, and I am satisfied with the result.
Too big for the microwave, I put this dough in the oven for bulk fermentation and added two bowls of microwaved water to generate heat.
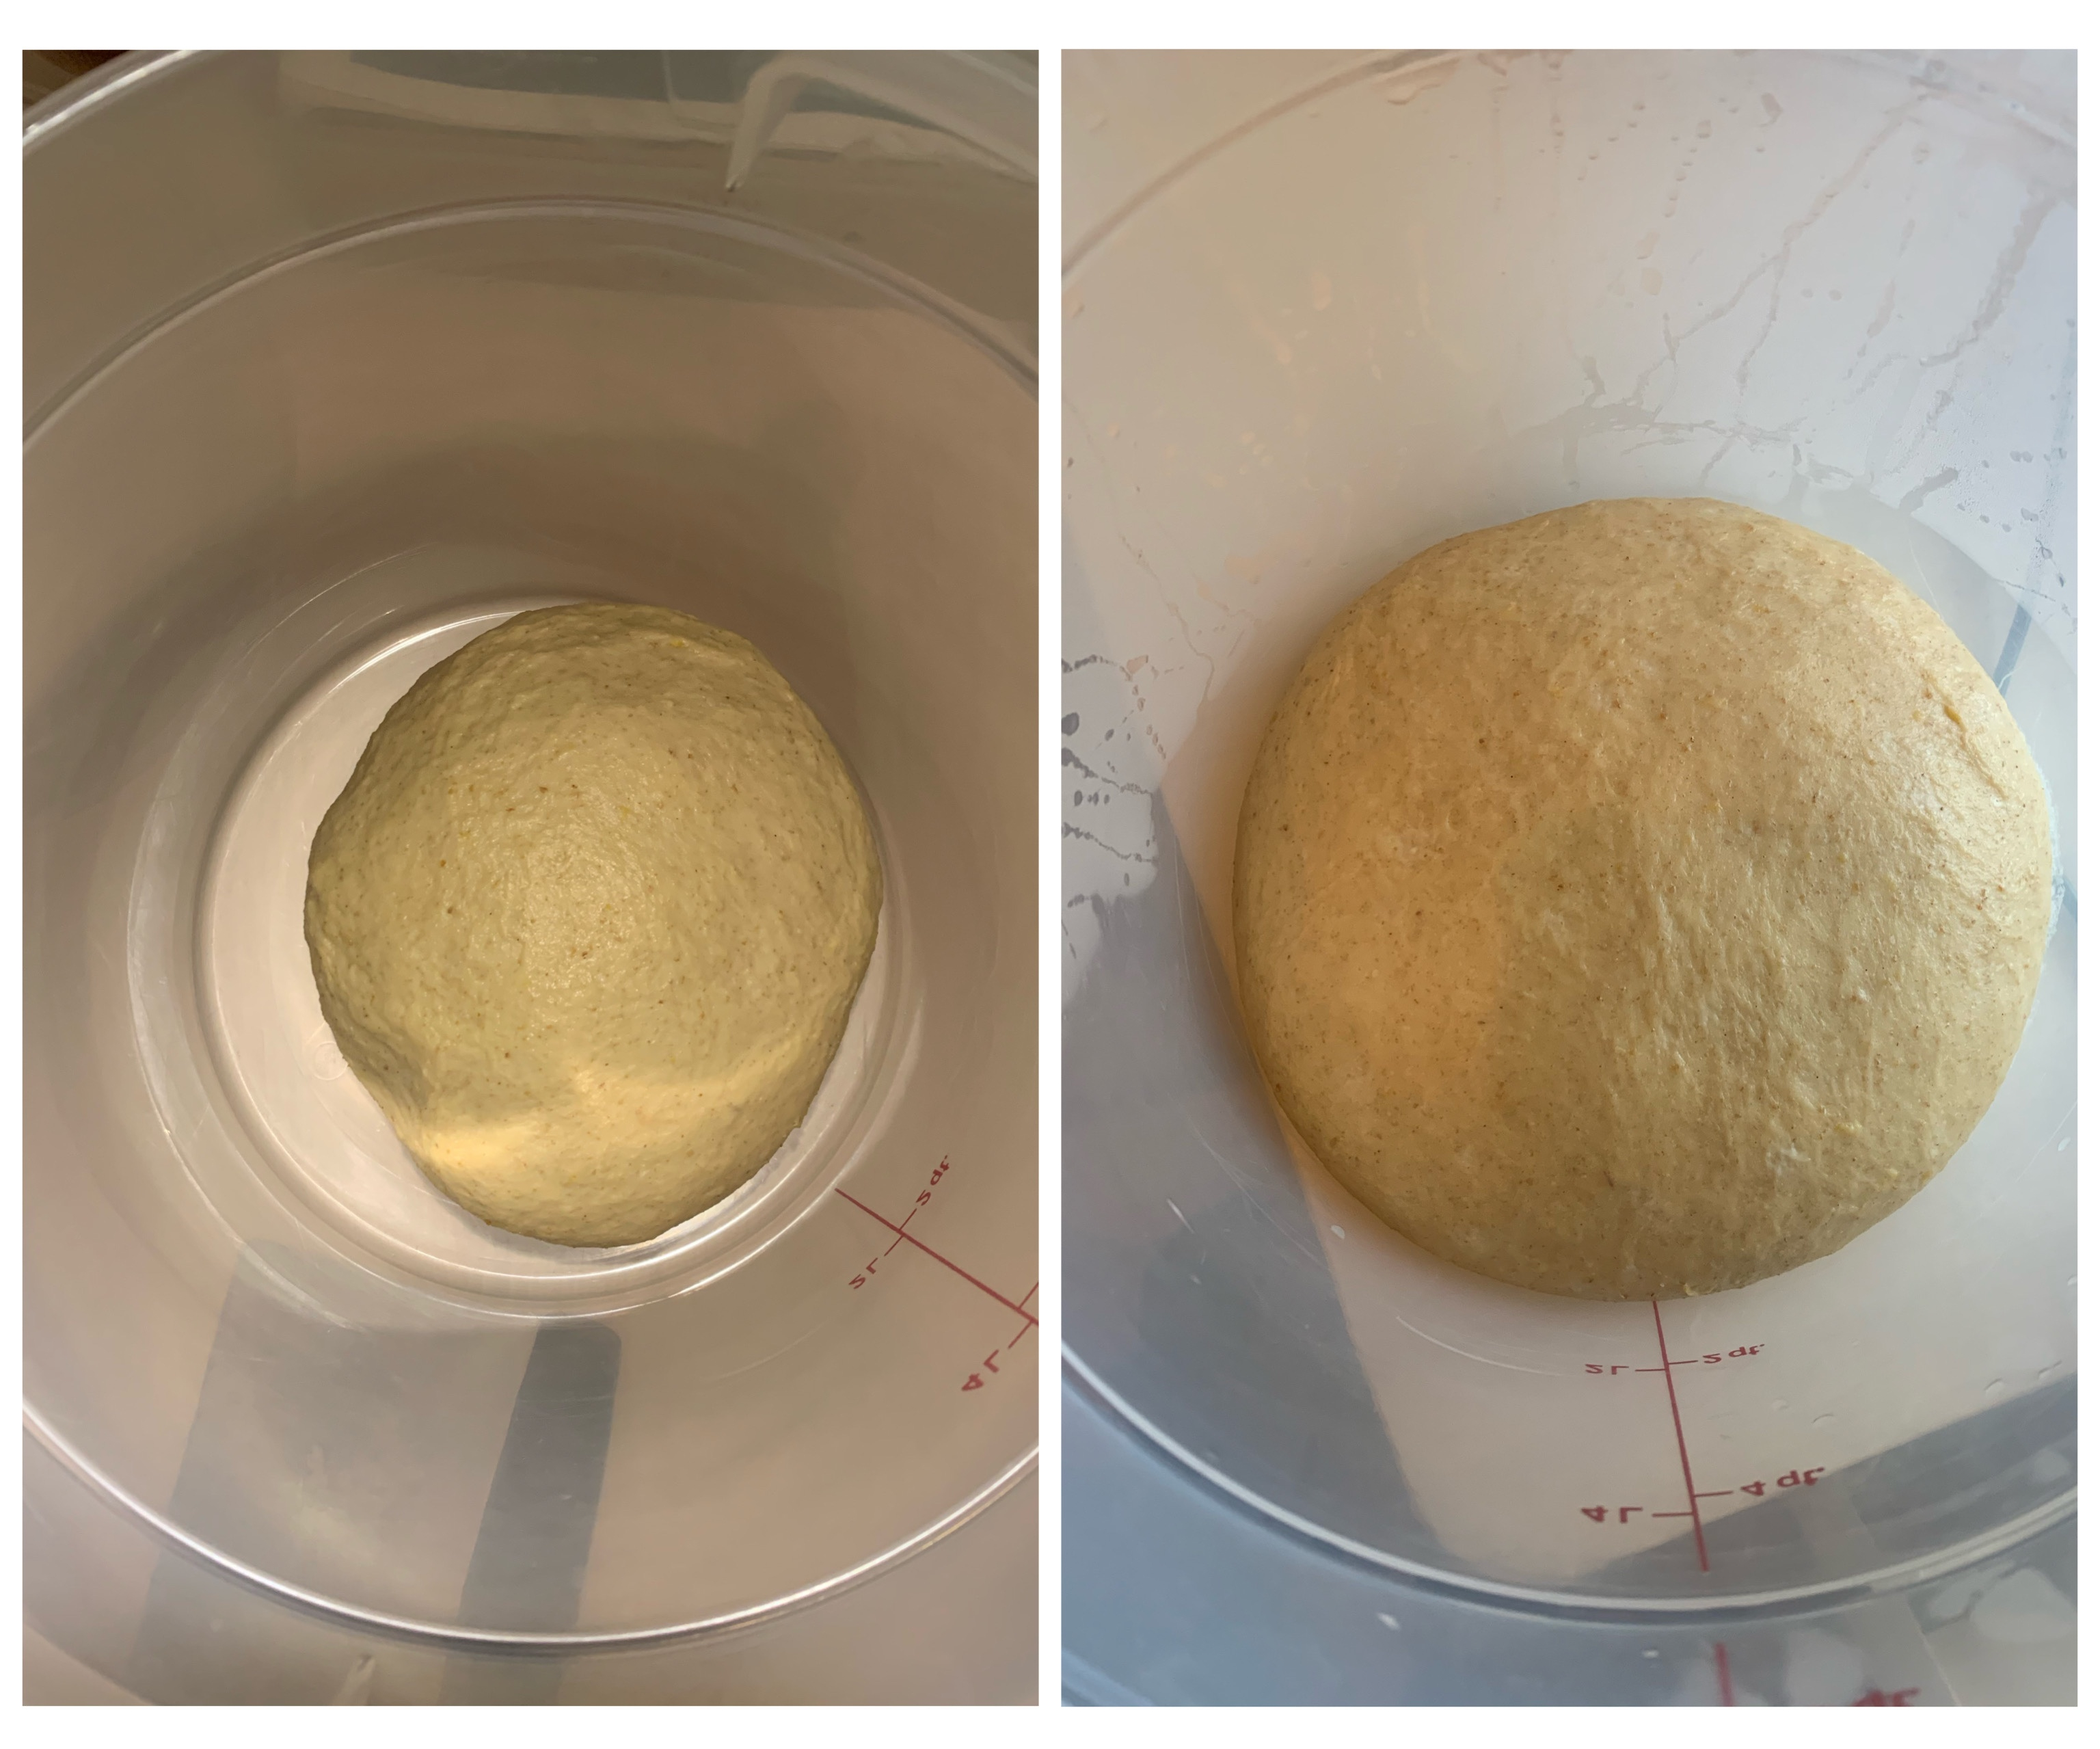
I am not sure of “the right way” spread a heavy dough into an even rectangle, but with enough prodding and pulling and light action with the rolling pin, I got a fairly uniform block. The butter spread easily, and I took time to sprinkle sugar evenly over the dough.

I used rulers on either side of the block of dough to make sure my strips were semi-even, otherwise I would have absolutely created awful rhombus-shaped cuts of dough. I have a terrible eye for straight lines, measurements, and the like. I used my bench scraper to mark each strip before cutting them. They cut cleanly so long as there was not much dough on the scraper.

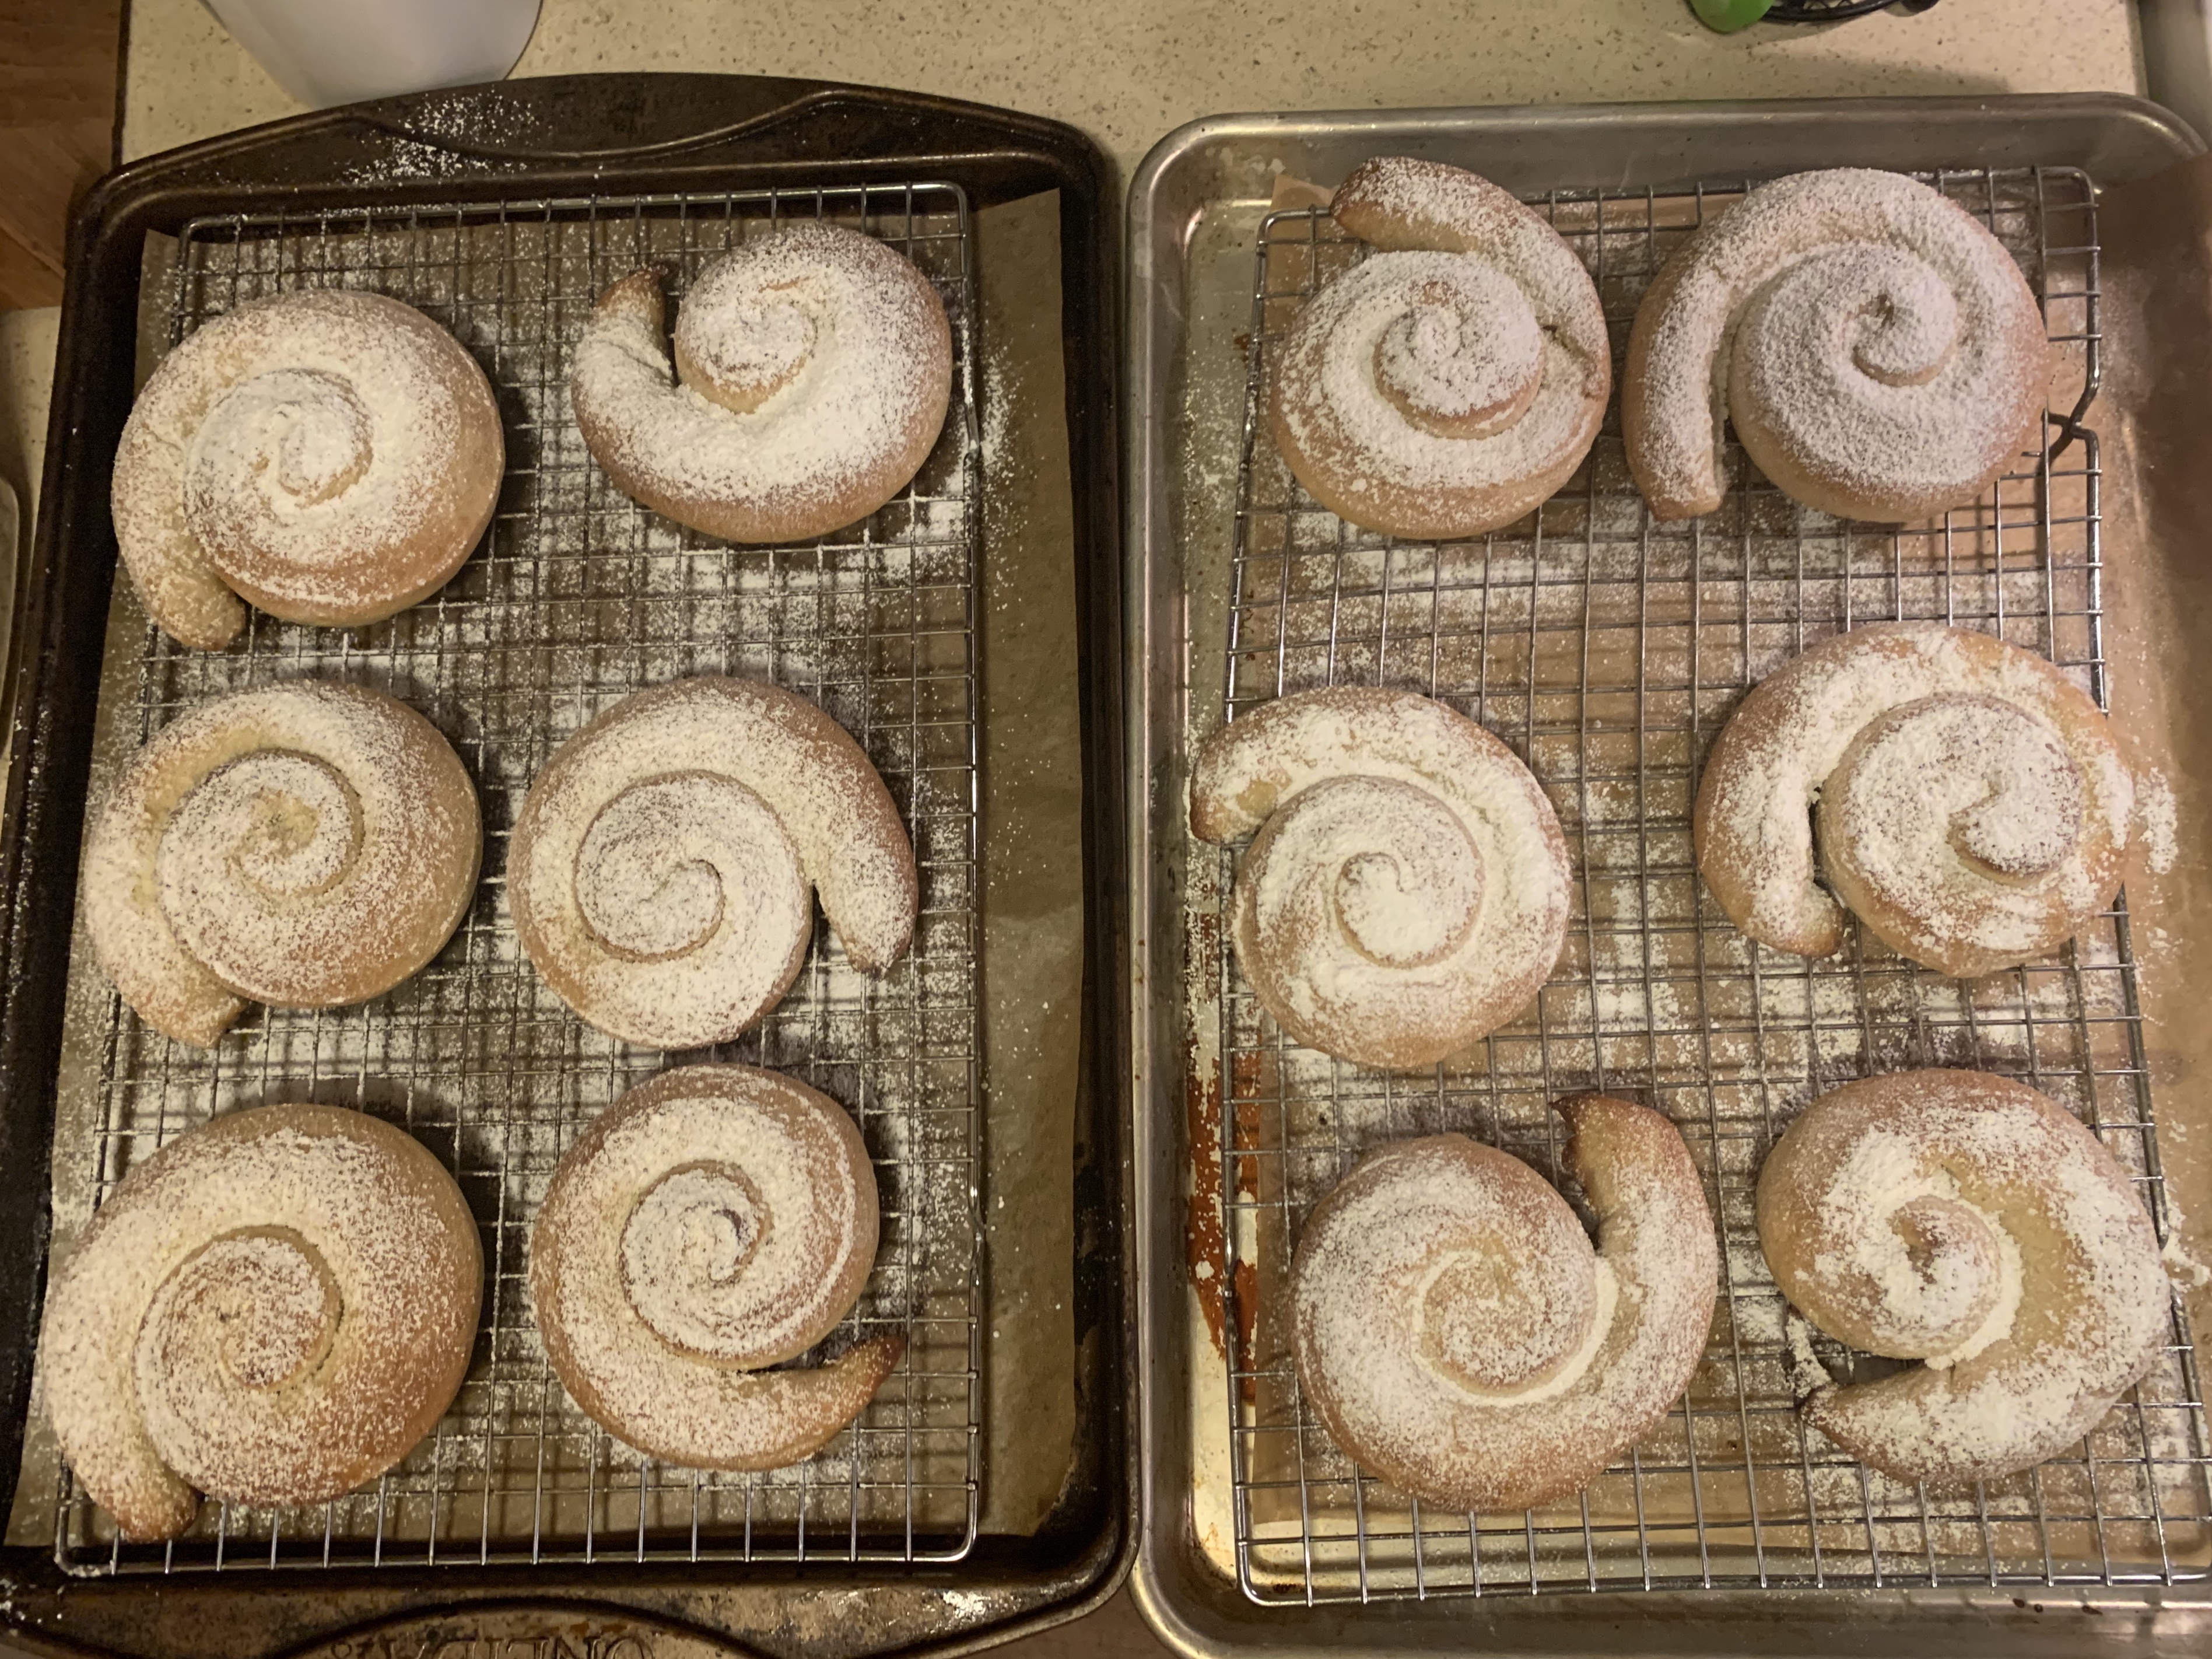
With butter to keep them together, it was no trouble coiling mallorcas into giant snails.

I proofed the buns in the oven with boiling water, as Ford prescribes, and they grew beautiful and fat. A couple of tails went rogue from the body, but the coils mostly stayed put without my repositioning them.


I brushed them with a little water and baked as directed. They turned a wonderful golden brown, followed by a snowy white when dusted with confectioners’ sugar.

If it is within your power, eat these mallorcas as soon as possible out of the oven. I regret eating only one before they cooled down. The first bite spoke of lemon. The second bite said sweetness. The third discussed butter.
I can only eat these by starting at the tip and circling my way to the center. The inner edges, where the coils meet in buttered union, are lightly crisp and delicious. Imagine a cinnamon roll without the frou frou nonsense; imagine a donut with substance and satisfaction. I am in love with these buns.

Fresh is best, but I ate many many pan de mallorca in the days after baking. I found that 15 seconds in the microwave heated them up just enough to restore them for optimal enjoyment.

I put this mallorca recipe in the same category as Artisan Bryan’s regular pan de coco, muffuletta rolls, and semitas de yema: their flavor is unlike any traditional American baked good, and I will be making them again.

